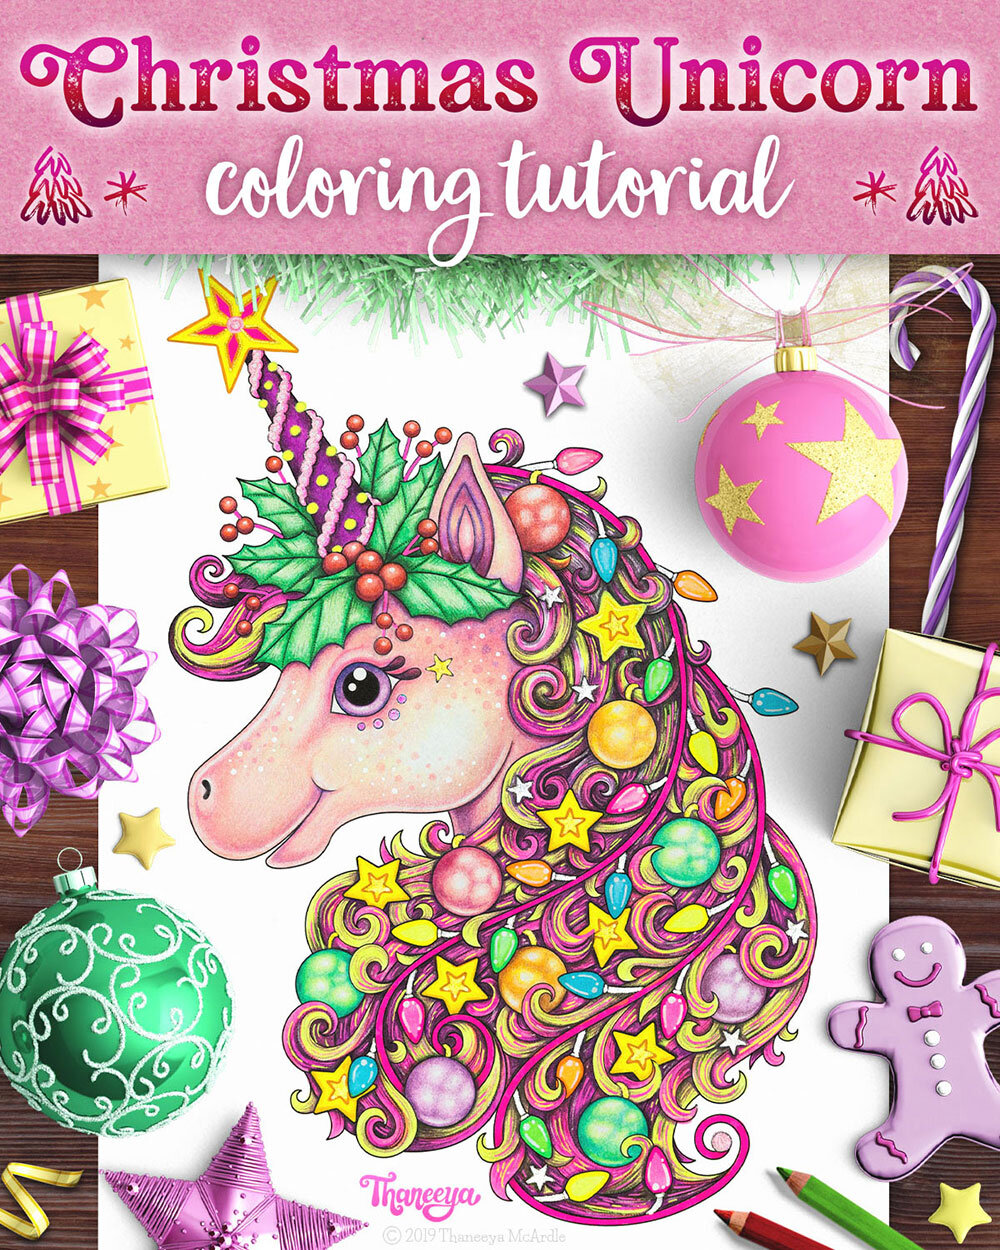
Unicorn Coloring Page Tutorial
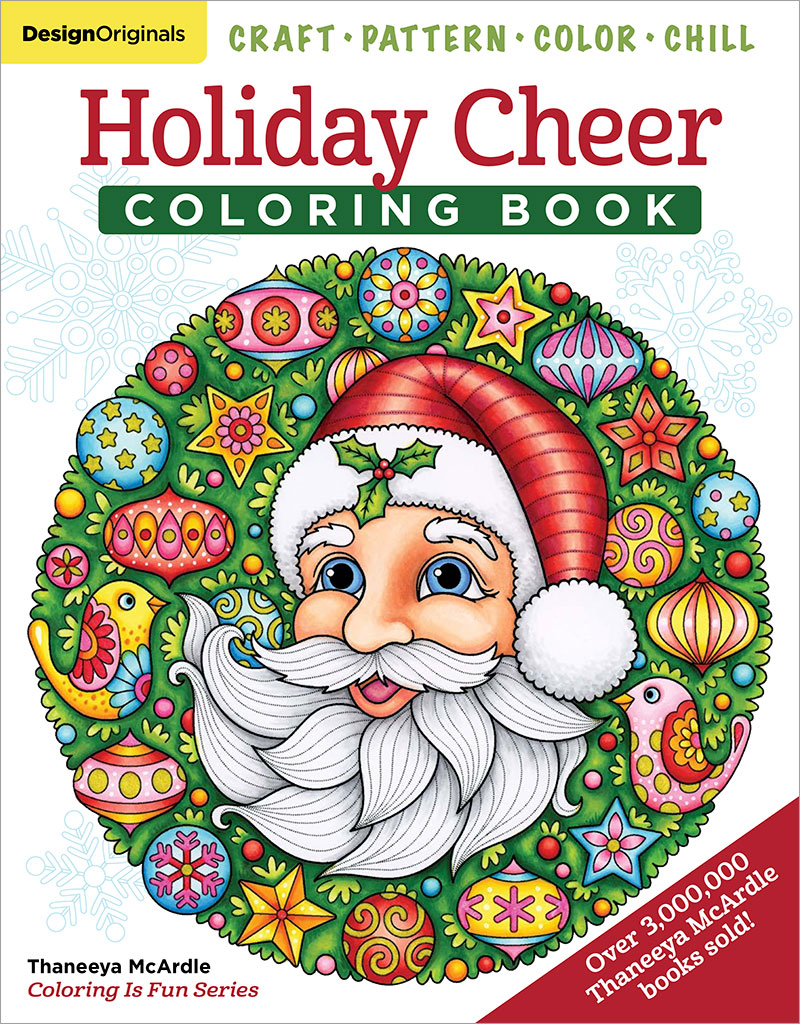
This unicorn coloring page tutorial will walk you through the steps and supplies I used to create the colorful Christmas unicorn above! Along the way I share with you some coloring tips and detail the specific brands I used throughout the process of coloring this unicorn. If you’d like to follow along with this unicorn coloring tutorial, you can find this unicorn coloring page in my Holiday Cheer Coloring Book, which features 40 whimsical Christmas illustrations for your coloring pleasure!
Close-up angle view of the finished Christmas unicorn coloring page from my Holiday Cheer Coloring Book
I used a bunch of different supplies and brands to color this Christmas unicorn:
If you make a purchase through one of the links below, I get a small commission (at no extra cost to you) that helps support this site and allows me to make free content for all to enjoy. Thanks!

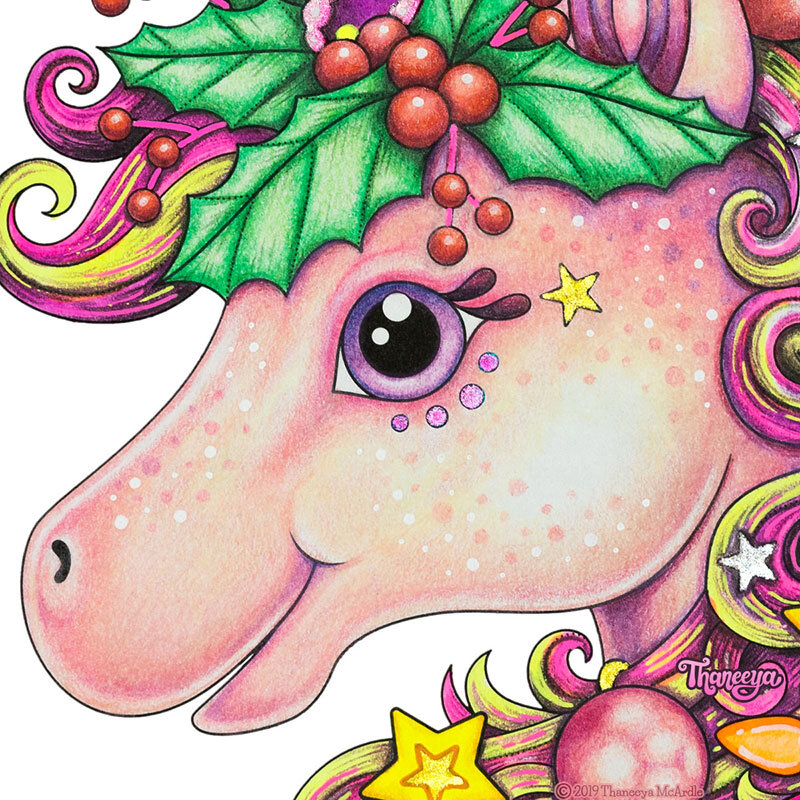
Close-up of the Christmas Unicorn’s Mane, so you can get a better look at some of the coloring techniques that I used.
I know, that’s quite a list! I find that I enjoy coloring the most when I don’t limit myself to one specific brand or art supply. In this case I combined alcohol markers, colored pencils, gel pens and paint pens all in the same page, which helped me achieve the look I wanted much more easily than if I had limited myself to just one of those types of media*.
Each type of media has its own strengths and weaknesses so when you combine them you can benefit from the best that each has to offer!
*Media, in art terms, refers to the art materials/supplies used to create a work of art.
For more in-depth information about the markers I use, check out my Markers Buying Guide and my extensive review of Copic Markers.
Coloring the Christmas Unicorn
Let’s get started! The pic below might seem overwhelming at first, but don’t worry - I’ll break it all down to help you make sense of it all!
Colors and Media used to color in this Christmas Unicorn coloring page. Click to view larger!
Coloring the unicorn’s eye

Often the hardest part is knowing where—and how—to begin! For some reason if I’m working on a person or animal I always like to start with the eyes—perhaps because it helps anchor the drawing as it comes to life.
I colored in the eye using the following Faber-Castell Polychromos colored pencils, listed in order from lightest to darkest:
Light Magenta
Crimson
Manganese Violet
Helio-Blue Reddish
When coloring, I typically start with the lightest color first—in this case, Light Magenta. Using a light touch, I gently add this preliminary layer, then color with the next darkest color on top of the previous layer, and so forth until I’ve reached the desired blend from light to dark.
If you’d like to see a more in-depth tutorial showing each step involved with blending colored pencils—stay tuned, I’m working on it!! 😃
Coloring the holly
The next thing I colored in was the holly perched atop the unicorn’s forehead because I already knew how it would look, with green for the leaves and red for the berries.
These are the Faber-Castell Polychromos colored pencil colors I used for the green leaves of the holly, listed from light to dark:

Leaf Green
Emerald Green
Pine Green
Chrome Oxide Green
For the berries, I used these Faber-Castell Polychromos colored pencil colors, in order from light to dark:
Light Cadmium Red
Deep Scarlet Red Madder
Red Violet
Once the berries were colored in, I used a white Posca paint pen to add a little dot of a highlight to each berry.
Coloring the star and horn

Next I colored in the yellow star on top of the unicorn’s horn with a neon yellow Sharpie.
I used a light pink Sharpie glitter paint pen to color in the decoration that winds around the unicorn’s horn. When the glitter paint pen dried, I used a white Posca paint pen to add small white dots on top.
At this stage I wasn’t sure yet what color I wanted to make the main part of the horn, or what color I wanted to use inside the star, so I skipped to the next step and tackled the string of lights that weaves through the unicorn’s mane.
When coloring, it’s totally okay to hop around to different parts of the page if you’re unsure of what to color a certain area. As you fill the rest of the page with color, inspiration will probably strike and you’ll get a better idea of how you want to color those areas you were initially unsure about!
Coloring the string of lights
I used a neon pink Sharpie to color in the main part of the string of lights (the “wire” that connects all the light bulbs). Although it’s a little hard to see, I used a Faber-Castell Polychromos Middle Purple Pink colored pencil on top of the pink neon Sharpie in the areas where I wanted to create a subtle shadow, as you can see in this pic below.

For the light bulbs, I repeated 5 different colors throughout the string of lights: pink, orange, blue, green and yellow. These are the colors I used for each:
Pink: Copic FRV1 for the main color, with pink neon Sharpie for the inner outline
Orange: Copic FYR1 for the main color, with orange neon Sharpie for the inner outline
Blue: Copic FBG2 for the main color, with blue neon Sharpie for the inner outline
Green: Neon green Sharpie for the main color, with Copic FYG2 for the inner outline (notice this is the opposite of the previous 3 in terms of using the Sharpie for the main color and the Copic for the outline - this is because the neon green Sharpie happened to be a lighter color than the Copic)
Yellow: Neon Yellow Sharpie
For all the light bulbs except yellow (because it was too light), I used a white Posca paint pen to add highlights.
Coloring the stars

I used a silver Pentel Sparkle Pop Glitter Gel Pen to color the small stars that are sprinkled throughout the unicorn’s hair, and a gold Pentel Sparkle Pop Glitter Gel Pen for the center of the bigger stars.
Although it’s hard to see the sparkle in these pics, Pentel Sparkle Pop Glitter Gel Pens create a really awesome glitter effect and have become my go-to when I want to add glitter to a coloring page!
I used a neon yellow Sharpie to color the outer part of the bigger stars, and used Copic Y08 to create some subtle shading around the edges. I then used an orange Sharpie glitter paint pen to outline the glittery inner portion of the stars.
Coloring the Christmas Baubles
Now let’s move on to coloring the Christmas baubles! I used Faber-Castell Polychromos colored pencils to color them in. Below you can see the specific colors I used:
To color the baubles, I started by gently applying the lightest color. I wanted the baubles to look shiny so I carefully left the paper white in certain areas to create multiple small white circular shapes for highlights, along with a thin white crescent for the reflected light along the bottom of each bauble. Check out this diagram to see what I mean:

After coloring with the lightest color, I added the next darkest color, and so on, until I got to the darkest color, which I applied along the outer edge of the bauble and around the sides of the reflected light. (As I mentioned earlier, I’m preparing a series of more in-depth tutorials that will break down this process step-by-step, so stay tuned!)
This is just one way to create the appearance of shininess. If you do a Google search for “shiny round Christmas ornaments” you can get ideas of all the various ways you can color these round objects to make them look shiny.

My messy color notes for coloring in my Christmas unicorn
Tip: It can be really handy to have a piece of scrap paper nearby so you can test out different colors, and note down the ones you end up using, like I did in the pic above! It’s also very helpful to experiment on scrap paper with how different colors layer on top of each other. When you find a color combo you like, making a note of it can save you time in the future when you find yourself looking to replicate that same gradient!
Coloring the unicorn’s mane
Next it’s time to tackle the mane! In the pic below you can see how it started out.
Coloring the mane was a big experiment for me, because although I had a vague idea of how I wanted it to look—multi-colored and textured—I didn’t have a concrete vision, so it was mainly a matter of winging it and hoping for the best. 😁

In this close-up pic you can see how I started off by coloring in each section of hair with 3 different base colors laid next to each other at random: Copic FYG1 (fluorescent yellow), Copic V04 (lilac), and Copic FRV1 (fluorescent pink).
I then added shading and texture using 3 Faber-Castell Polychromos colored pencils: Purple Violet, Manganese Violet and Black. To create highlights on top of those shadows, I used Sakura Gelly Roll Pens (yellow and pink from their Moonlight pack). Then I added some subtle glitter highlights using pink and yellow Sharpie glitter paint pens.
I carried on in this fashion to color the rest of the mane. In the pic below you can see some of the mane progress, as well as notes on how I colored in the rest of the unicorn’s horn.
Here’s a close-up look at the rest of the unicorn’s mane:
At this stage the unicorn is almost finished—all that’s left is the unicorn’s head! I always knew this would be the most challenging part so I saved it for last. 😁
Coloring the unicorn’s head
To match the sense of depth that I gave to the unicorn’s mane, horn and Christmas baubles, I wanted to make the unicorn’s head look 3-D in a stylized whimsical way, rather than look flat. This was going to be a challenge because while I could look at photos of horses for reference, I didn’t want to use realistic colors so I had to experiment. As you can see in my notes below, I considered a bunch of different colors. I ended up using the colors that are checked off below.

For some reason when coloring the unicorn’s head, I switched to Prismacolor Premier colored pencils, instead of the Faber-Castell Polychromos colored pencils that I had used for the rest of the unicorn. No real reason for the change, just a whim I suppose! Both are excellent brands of colored pencils and I highly recommend them both.
Here are the colors I used for the unicorn’s head (all Prismacolors): Cream, Deco Peach, Bluish Pink, Pink, Seashell Pink, Rosy Beige, Lavender, Lilac, Parma Violet, Tuscan Red, and Black Grape.
Coloring the head took about 2.5 hours because I colored so slowly. Since I was pretty much inventing how it would look without relying on a reference photo, I was worried I would mess up. Colored pencils can be hard—often impossible—to erase, so I worked extra carefully to make sure I got it right.

I started by very lightly using Deco Peach to color in around the edges of the unicorn’s face, then worked my way in. Next I applied Blush Pink to start darkening areas near the edges. To help make the face look 3-D, I left strips of light areas along the edges of the unicorn’s head, to act as reflected light.
After coloring with Deco Peach and Blush Pink, I went over top of those areas with Cream, to help warm up the image. Going over with another color also burnishes the colors together, helping all the layers blend together more smoothly. Through trial and error I used the rest of the colors listed above to model the face. The darkest color I used on the unicorn’s muzzle was Pink, with a tiny touch of Lilac above her mouth near the cheek, as well as on her chin. The darkest colors listed above were only used to create shadows under the holly and mane and on the neck.
I colored in the unicorn’s eyelashes using Tuscan Red and Black Grape. The circles beneath the eye were colored in with a Pentel Sparkle Pop Glitter Gel Pen. To finish things off, I used Blush Pink to add freckles to the unicorn’s face, then used a white Posca paint pen to add more whimsy with white freckles.
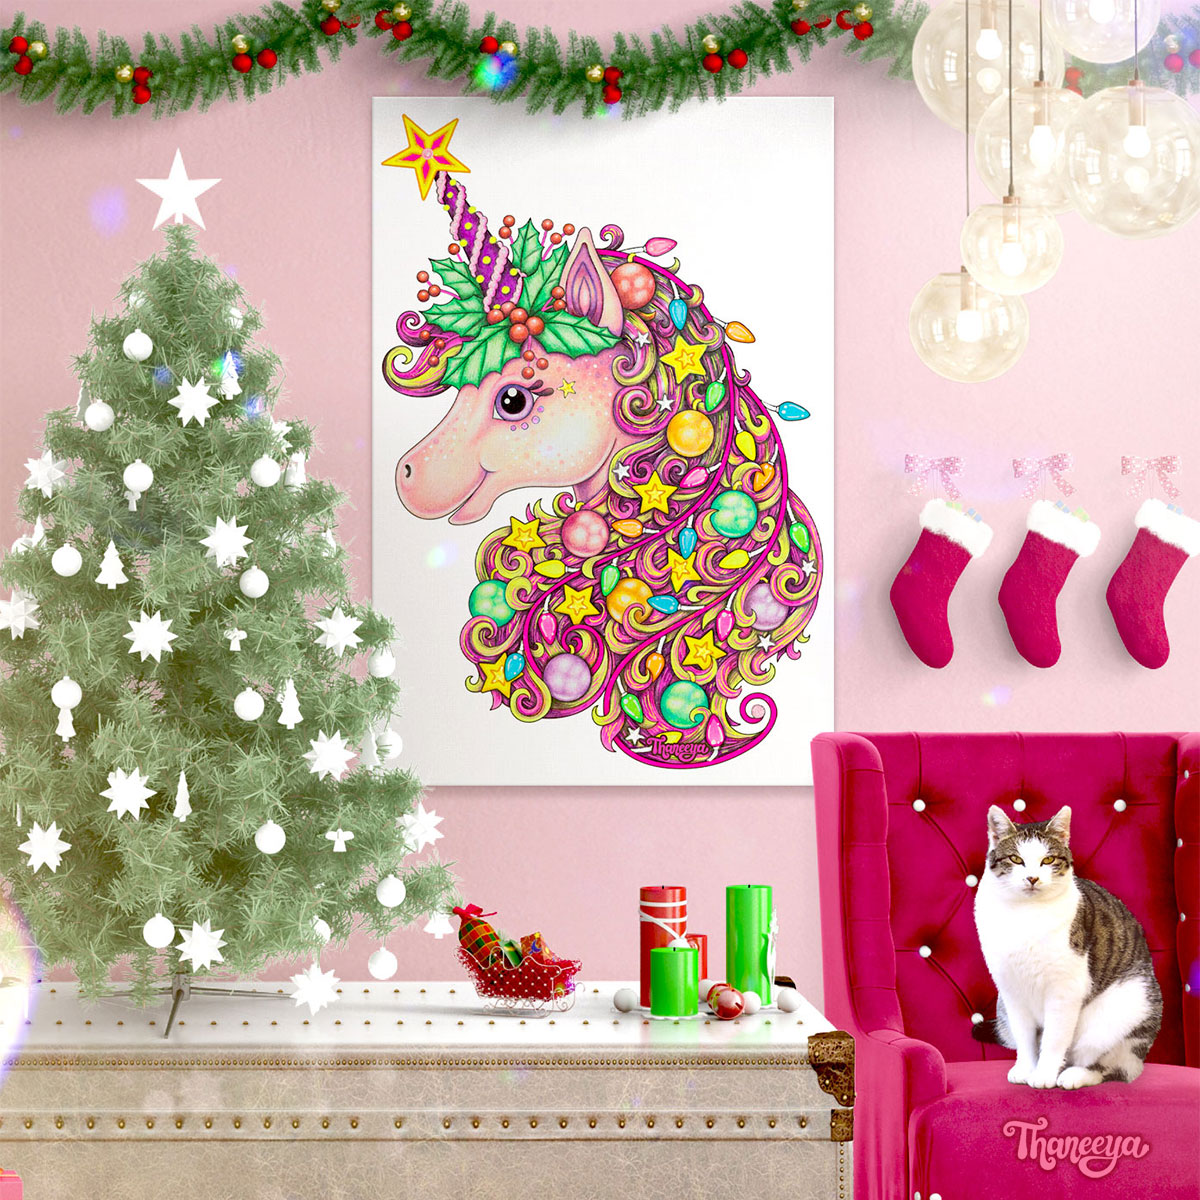
The finished Christmas Unicorn
Once again, here is the finished Christmas unicorn!! I hope this tutorial was helpful to you. If you color in this page, or any other pages from my coloring books, I’d totally LOVE to see how it turns out!! Feel free to post your colored pics on my Facebook page, in my coloring group, or post it on Instagram and tag me @artbythaneeya or use my hashtag #thaneeyamcardle. I can’t wait to see how you color this page!! 😍
If you like this animation, check out more of my animated art!
Christmas Unicorn Coloring Poster
If you want to go large, this Christmas Unicorn is also available as a coloring poster! You can choose the size of the poster, up to an extra large 40” x 53.33”!!
Holiday Cheer Coloring Book
You can find the Christmas unicorn in my Holiday Cheer Coloring Book, available on Amazon.
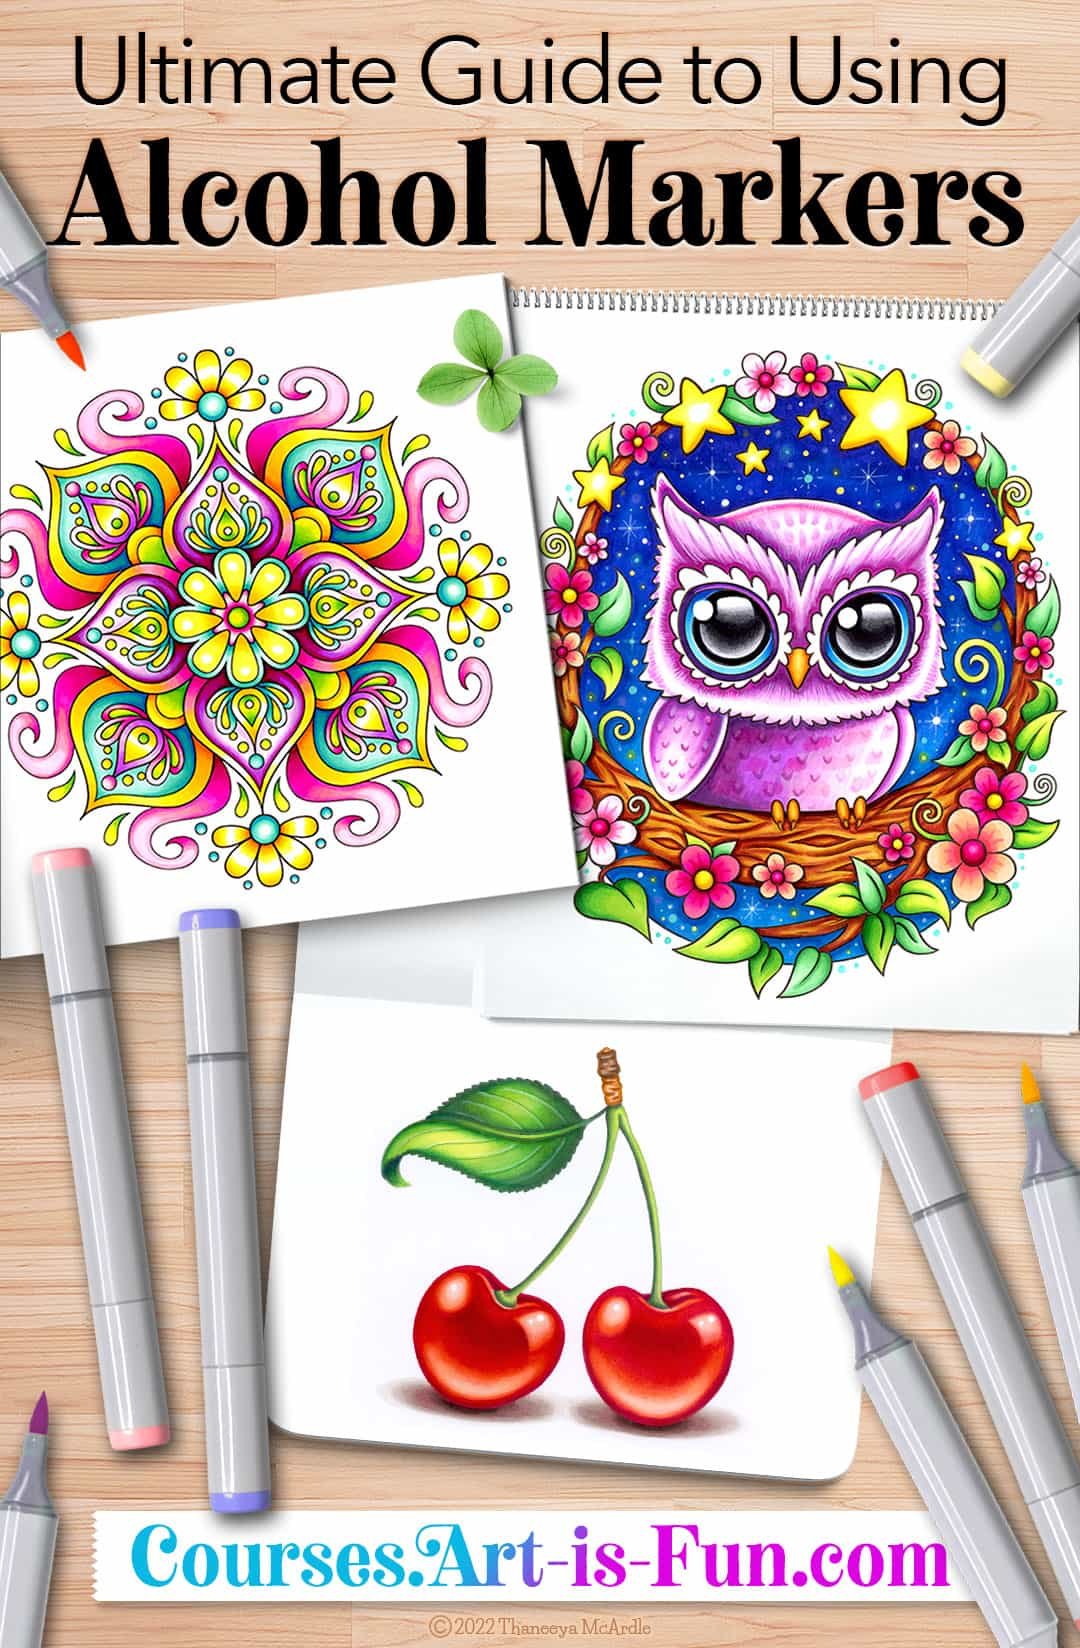
Ultimate Guide to Using Alcohol Markers
If you enjoyed this online art lesson and want to learn more about how to use alcohol markers, then check out my Ultimate Guide to Using Alcohol Markers! In this comprehensive online art class, you’ll learn various blending alcohol marker techniques, then you can follow along step-by-step as I demonstrate how to color in the three artworks below!.Printable line art is included, so you can color along with me!