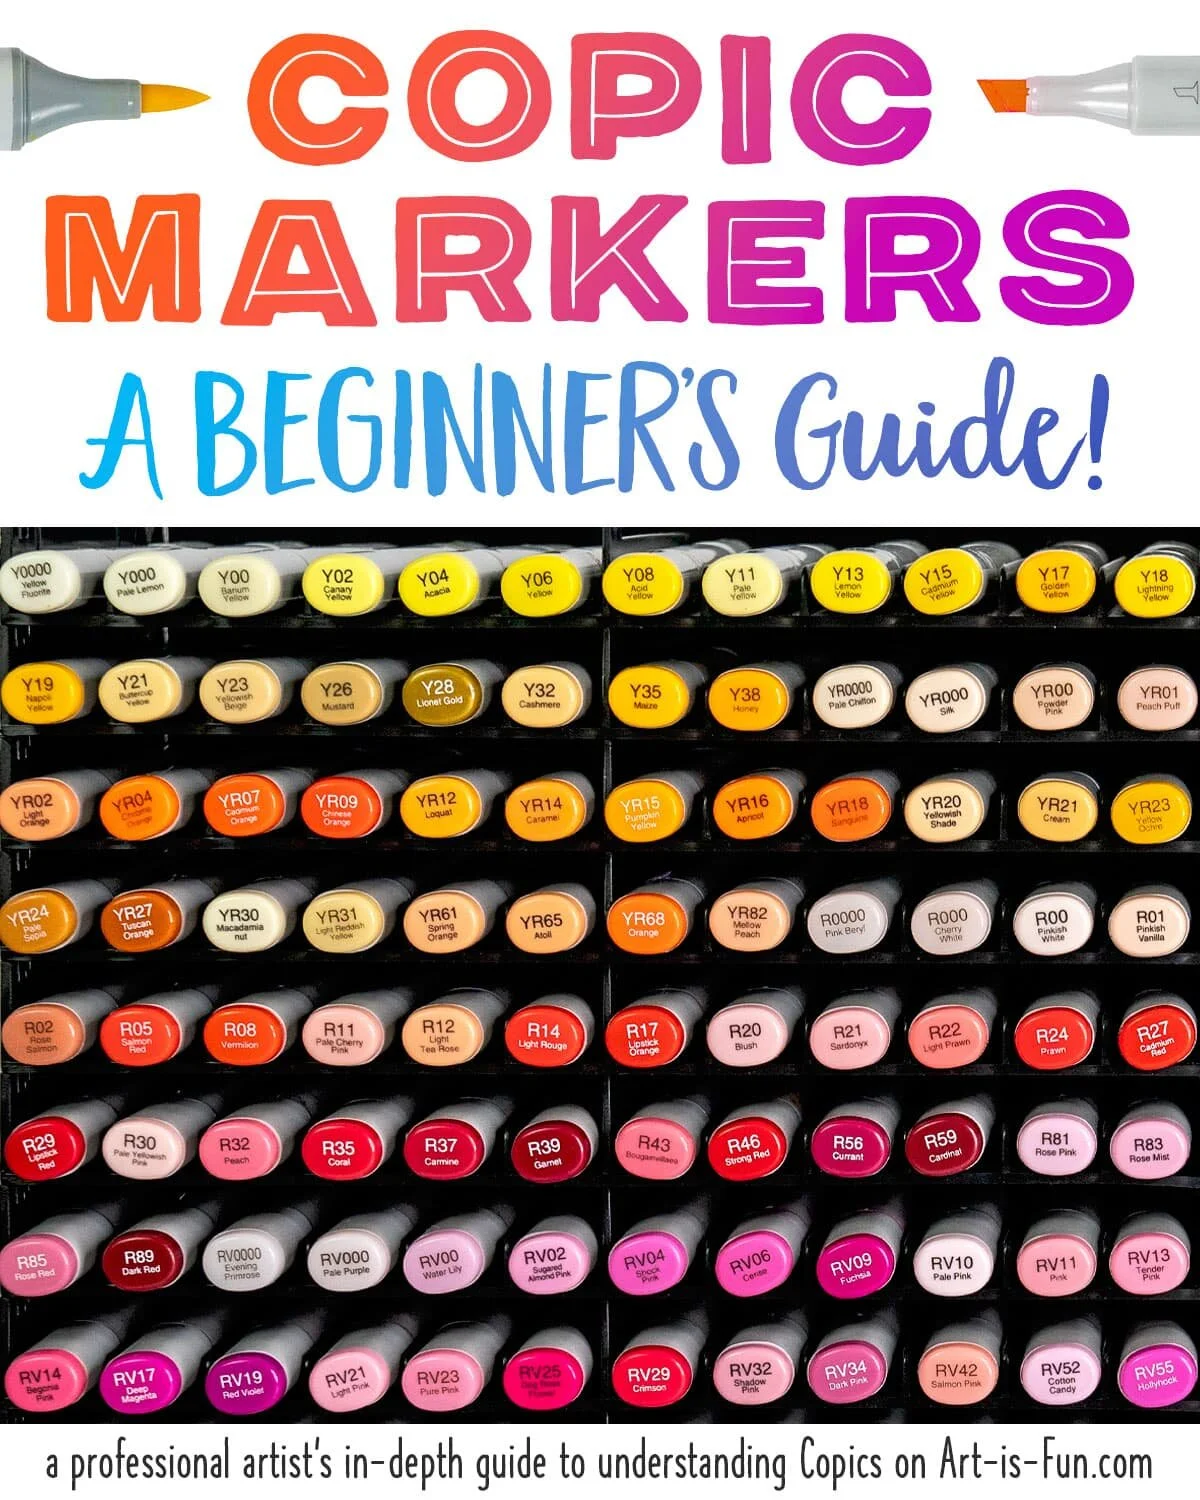
Copic Markers
Learn why Copic Markers are beloved by artists, illustrators and colorists all around the world!
You’ve no doubt heard the hype about Copics: when it comes to markers, they’re considered the “best of the best” by artists and illustrators, and during the adult coloring trend they exploded in popularity to the point where it was hard to find them in stock. Amidst all the buzz about Copics you probably experienced sticker shock when you saw how much they cost! Because of that, it makes total sense that you’ll want to do some research before deciding if Copics are worth the investment. I created this page to help you understand the different types of Copic Markers available, to explain why Copics are so renowned, and to help you decide if they deserve a place in your creative workflow!
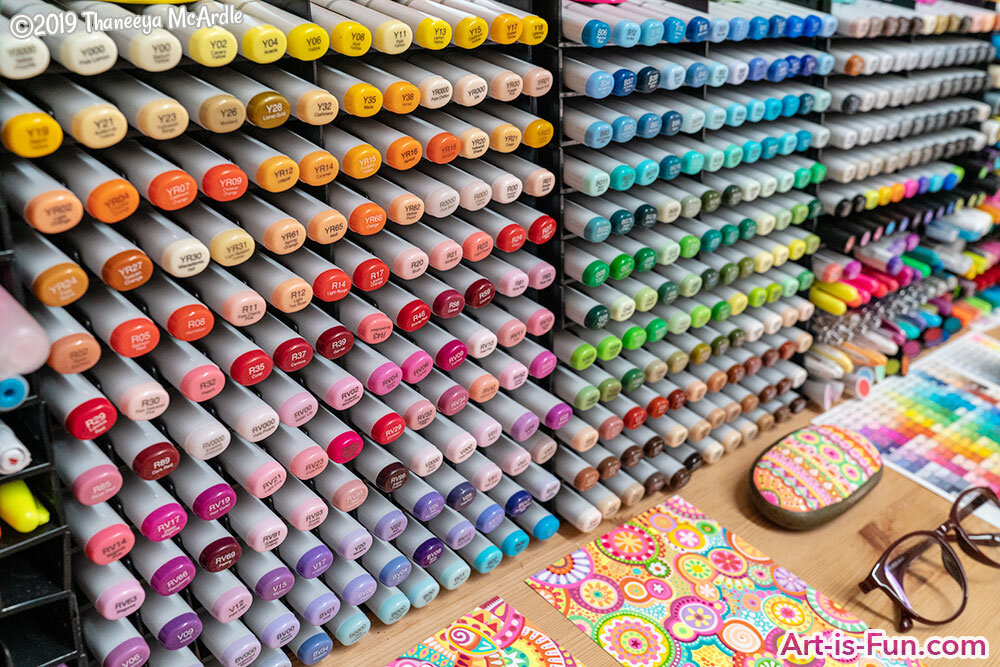
As an artist and coloring book author (with over 4 million copies sold), I’ve done a ton of coloring and illustrating with over a dozen different marker brands. I’ve been using Copic Sketch Markers almost every day for over 10 years so you can definitely call me a Copic enthusiast – I even have all 358 colors! Below I’ll share with you what I’ve learned!
What are Copic Markers?
Copic Markers are professional-quality markers that are highly regarded by artists for their smooth application and wide range of brilliant colors. They are double-sided (which means there’s a nib at each end) with a reservoir in the middle filled with high-quality, alcohol-based ink that is low-odor and non-toxic. Copics can be layered and blended, they’re streak-free, and they’re permanent, which makes them a wonderful tool for creating art.
To learn more about the difference between alcohol-based markers and water-based markers, check out my page Markers: a buying guide.
Unlike cheap markers that get discarded when they run out of ink, Copic Markers are designed to last for years (or decades!) because they’re refillable, and you can replace the nibs when they become worn.
Learn how to color in theses cherries in my Ultimate Guide to Using Alcohol Markers!
Copics are made in Japan and were originally released in 1987, primarily for manga artists. Since then, they’ve gradually added new marker styles and colors to their product line, generating growing interest from all types of artists such as fashion illustrators, graphic designers, coloring enthusiasts and even fine artists like myself who made a transition from painting with traditional media to coloring with markers.
One reason Copics are more expensive than other brands is that Copic takes quality very seriously. Each marker is hand-tested for quality and color consistency before it leaves the factory. Copic also takes great care to ensure that its inks are consistent from batch to batch, so when you buy a new refill bottle or marker, you know exactly what you’re getting!
Now let’s talk about the different types of markers that Copic offers:
Copic Classic vs. Sketch vs. Ciao
Learn to create luminescent blends in my Ultimate Guide to Using Alcohol Markers!
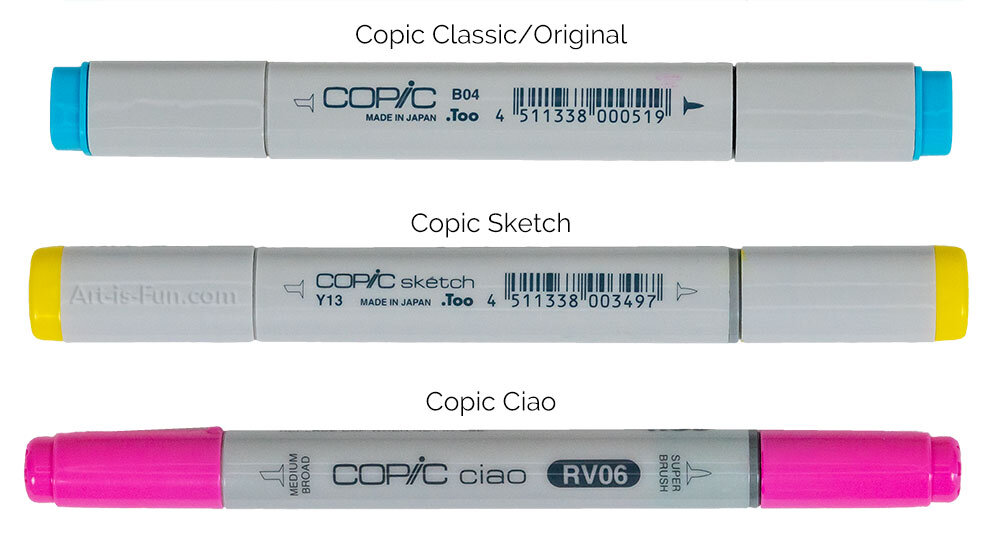
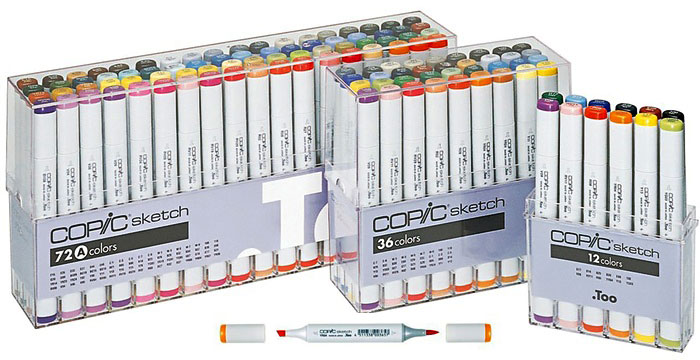
Copic has three types of markers to choose from, shown above: Copic Classic (also sometimes called Copic Original), Copic Sketch, and Copic Ciao.
Before I talk about the ways in which these marker types differ from one another, let’s talk about what they have in common.
They’re all refillable, and they all use the same high quality, alcohol-based ink. They come with replaceable nibs that can be changed out when they become worn. They’re all double-ended, but the nibs on each end vary by marker type, as you’ll see below.
Now onto the main differences. The characteristics that set the three types of Copic markers apart from one another are their nib shapes, barrel sizes and shapes, color range, and price.
Here’s an infographic I created to help you easily contrast and compare:
I've provided links below to the relevant products so that you can easily find them on Amazon. As an Amazon affiliate, I earn from qualifying purchases, which helps support this site.
In addition to these 3 types of markers, there are a few other related products offered by Copic that I won’t be covering in this article, but felt they are worth mentioning. They have a range of Multiliner pens that have a very limited color range and are designed mainly for technical drawing, line art, pen & ink illustration, or anything that requires precision. Copic also used to have a range of Wide Markers that were available in 36 colors, which people primarily used for laying down lots of color quickly. They’ve been discontinued, but you can still get the empty Wide Marker that can be filled with ink of your choice. Copic also offers an airbrush system that works in combination with their Classic and Sketch markers (not the Ciao markers).
Copic Classic/Original
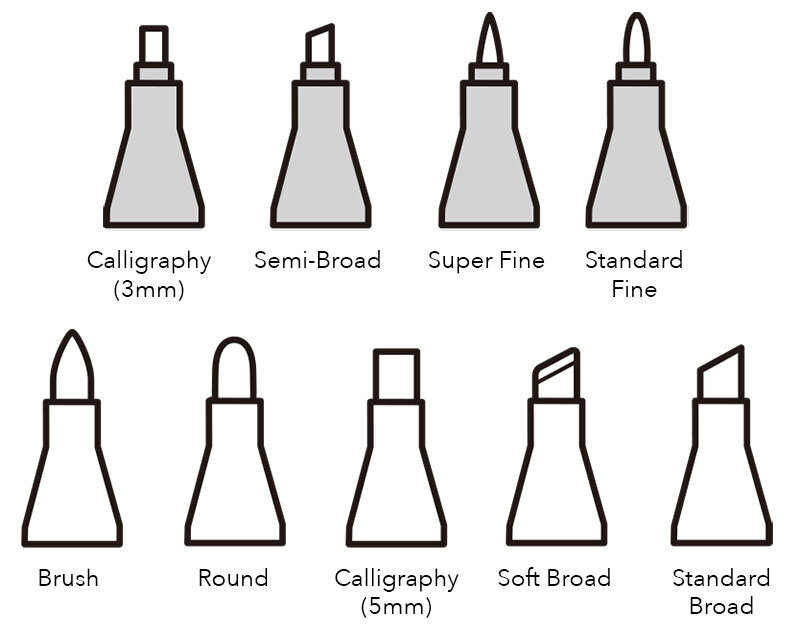
Copic Classic Markers (sometimes referred to as Copic Original) have two advantages over the others: more ink and an impressive array of 9 nib choices. Because the square barrel can hold more ink, you don’t need to refill them as often. While they come with the chisel and bullet tips by default, you can pick from an additional 7 tip shapes. The downside is that these additional tips have to be purchased separately, and it would be impractical to keep popping them on and off to switch between them.
Classic markers cost the same as the Sketch markers, but they have fewer colors (214 vs. 358). My biggest issue with the Classics is their default tips: the chisel and the bullet. Neither of these is as versatile as the brush tip (discussed below). And while there is a brush tip available for the Classics, it wouldn’t be cost effective to buy the additional tip for every marker purchased.
Copic Sketch
Copic Sketch Markers are the most popular and they're definitely my favorite. Their biggest draw is their massive color range: 358 colors! There’s no other marker available that comes close to this range. Aside from the chisel tip, Sketch markers also come with the brush tip, which is by far the most useful and versatile marker tip. (I'll explain why below.) You can buy a bullet tip separately for the Sketch, but unlike the Copic Classic Markers, there are no other nib types available for the Sketch (just the chisel, brush and bullet). I also find the oval barrel shape of the Sketch markers to be more comfortable than the square Classic or round Ciao markers.
The Sketch markers are more expensive than the Ciao, which we'll talk about next, but if you’re not sensitive to price, these Sketch markers represent the ideal combination of Copic’s best features.
Copic Ciao
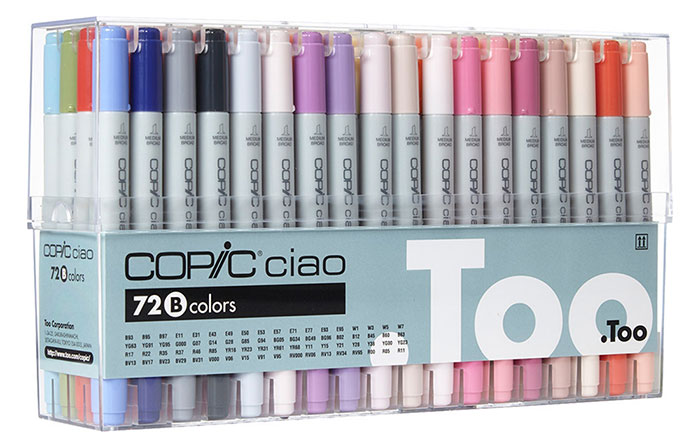
Copic Ciao markers were designed as a more-affordable alternative to the Sketch and Classic markers. They’re sometimes marketed to beginners, teens, and children, but they still include all the most important Copic features: they’re refillable, the nibs can be replaced, and they use the same high-quality ink.
They cost less because they come in fewer colors (still offering an impressive 180 colors though!) and contain less ink (so they’ll need to be refilled more often). If you’re buying for children, Ciao markers are ideal because the lids were designed with small holes for venting to prevent choking. The only thing I don’t like about Ciao markers is that they have a circular barrel, which means they can tend to roll around on your desk.
Alcohol Marker Videos
Check out my YouTube channel for videos on how to use alcohol markers! Here are some videos to get you started with alcohol markers:
If you enjoy my videos, be sure to subscribe to my channel so that you never miss a thing! 😃
Tip/Nib Shapes
Your preferred tip shape will be one of the most important factors in deciding which Copic Marker you should buy.
Note: when describing tip shape, Copic uses their own terms specific to their brand, but to make it easier to compare Copics and other brands, throughout this page I’ve been using the more common terms for tip shapes (chisel, brush and bullet). Copic’s special terms for tips are noted below so you know what to look for when purchasing.
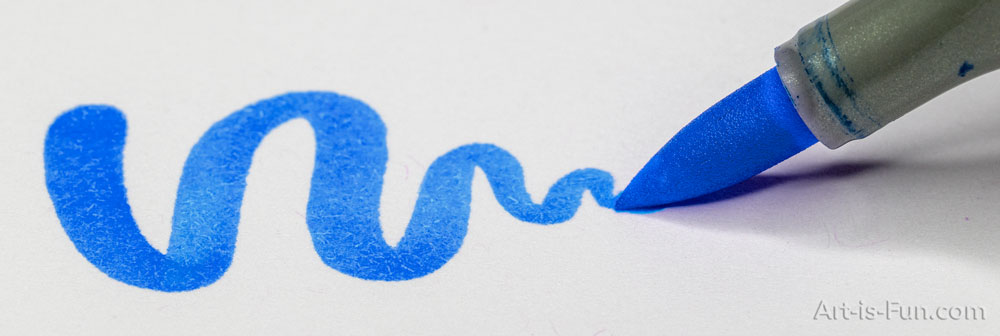
Brush tip
The brush tip (what Copic calls the Super Brush nib) is hands-down my absolute favorite because it’s the most versatile. When using a light touch, the very end of the tip can be used to create thin strokes and if you hold the marker at an angle to your paper, you can use the flatter side of the brush tip to achieve thick stokes that can fill in large spaces. You can also create variable-width strokes just like you would with a paintbrush, where a single line can vary from thin to thick depending on how you hold and apply the marker to the paper. I frequently create entire artworks using just the brush tip side of the marker. I love it so much that I rarely use the other brush tips! With this in mind, I suggest that you should definitely favor Sketch and Ciao markers (which both come with brush tips) and pass on the Original markers (which come with chisel and bullet tips).
Chisel tip
The chisel tip (what Copic calls the Broad nib) is very common across different marker brands. You can use different surfaces of the chisel to create strokes of different widths. It’s certainly much more versatile than the bullet tip, but not as useful (in my opinion) as the brush tip. I rarely use the chisel tip – however, your illustration style may be better suited to the chisel, so you might want to experiment with them and who knows, you might end up liking the chisel tip way more than I do! All three marker types come with chisel tips. Take note that the chisel tip (broad nib) on the Original markers is slightly larger than the chisel tip (medium broad nib) on the Ciao and Sketch markers. This means that if you’re replacing the broad nib or medium broad nib, you need to double-check that you’re buying the right size nib.
Bullet tip

The bullet tip (which Copic calls the Fine nib) is mainly designed for thinner strokes, as opposed to laying down lots of color. This tip is only available on the Original markers (with the chisel at the other end), but you can buy bullet tips that will fit in the Sketch markers if you want to use them in combination with the brush tip. From my experience, the bullet tip can’t produce strokes any thinner than the brush tip, so I don’t use them much. Though with that said, the bullet tip is really handy if you want a consistent line width that is relatively narrow. If you need to illustrate really tiny details, I’d recommend checking out true fine tip pens like the Copic Multiliner Pens, Staedtler Triplus Fineliners or Sakura Pigma Micron Pens.
Replacing Tips
You can buy replacement tips for your markers to switch them out when they become worn. Don’t worry too much about this in the beginning because it will take a long time and a lot of use to wear out a Copic tip. Most of my Copics have lasted for years without me needing to replace the tip! I've only needed to replace the tips on my favorite colors that I use all the time.
Removing a tip is as simple as gripping it with a pair of tweezers and pulling it out. You then slide in the new tip in much the same manner. It’s easy, but has the potential to be messy, and they're not designed to be switched out frequently. For this reason, it's better to discover the few tips you like best and stick with them, rather than swapping different tips around on a whim.
As I discussed above, the Copic Original Markers are the most customizable because you can select from 9 different tip shapes (see below). But, aside from the tips that come with the marker, you’ll have to buy them separately.
Nib choices for the Copic Classic Marker. Image courtesy of Copic.
Color range
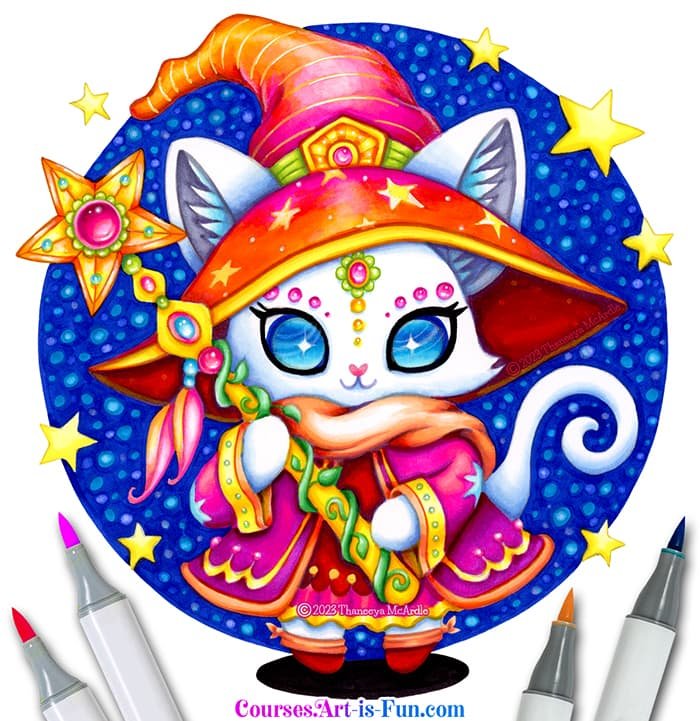
Printable “Enchanted Faces Coloring Pages” by Thaneeya McArdle, colored entirely with Copic Sketch Markers
The sheer number of colors available (a whopping 358 colors) puts Copic far ahead of any other marker brand! Color range is helpful when blending colors and creating smooth gradations because all those colors allow for greater possibilities. But honestly, for most people, 358 colors is overkill. Even though I have all 358 Copic Sketch Markers, there are actually plenty of colors that I rarely use. Even Ciao’s range of 180 colors are more than enough, so depending on your ability, this needn’t be a deciding factor in your decision.
Note that Copic's colors are the same across the marker styles. So if you buy color RV06 in the Ciao, it's the same color in the Sketch or Classic.
If you're super enthusiastic about color range you can extend your collection further by purchasing empty Copic markers (for Sketch and Classic only) and filling them with your own custom color mixes!
When it comes to refilling your markers, you can buy ink bottles for all 358 colors, which (at the time of this writing) cost around $5-6 each. One bottle contains 12ml of ink, which is enough to fill a Ciao 8.5 times, a Sketch 6.6 times, and a Classic 4.8 times. That’s a lot of ink and much cheaper than having to buy a new marker every time it runs out!
Copic Color Charts
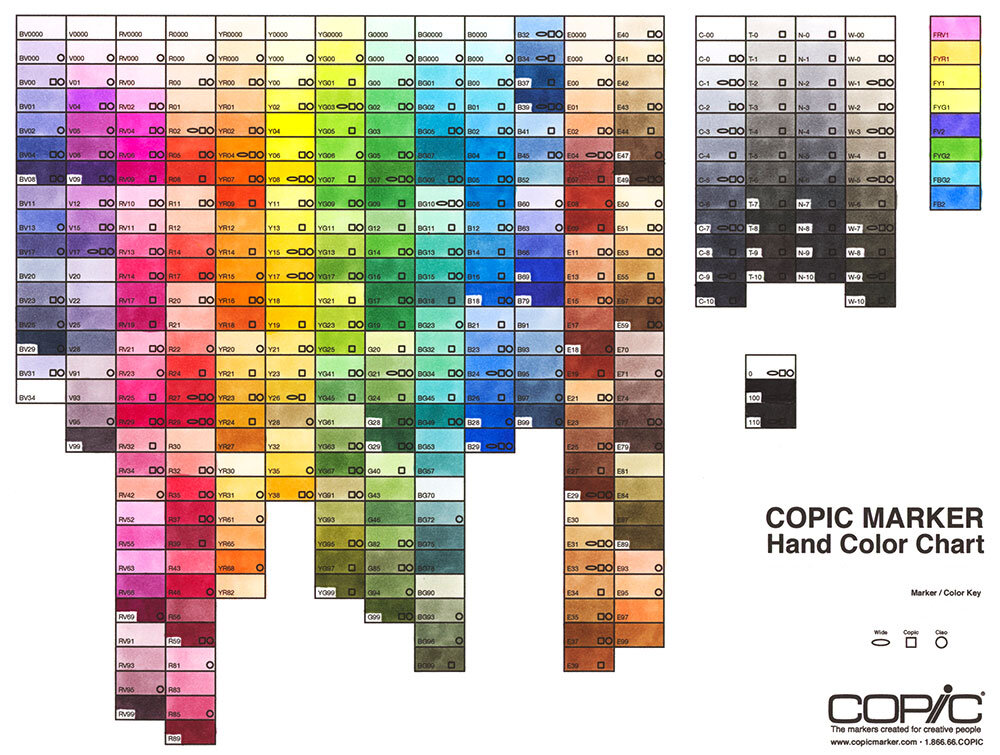
If you do start accumulating colors, it’s important to create a color chart to use as a reference. Here’s a template that Copic created, and below you can see my completed version. Copic also offers a smartphone app for iOS and Android that helps you manage your color collection, as well as Copic Color Swatch Cards that you can fill in.
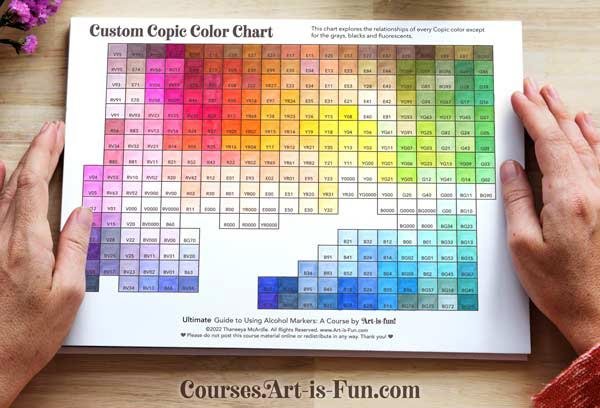
Custom Copic Color Chart
I created my own Custom Copic Color Chart, where I organized the colors based on what they actually look like, regardless of color numbers or color families.
My custom Copic color chart has been a really handy tool for me when choosing colors to blend together, because similar colors are grouped together. This makes it much easier to see various blending possibilities at a glance!
Lightfastness
Lightfastness refers to a color’s ability to resist fading. Buying lightfast media is important to many artists because they want their art to last as long as possible. The one downside with all markers, including Copics, is that they get their color from dyes, which are not as fade-resistant as the pigments you’ll find in media like paint, pastels, and some pencils. So be aware that any art you make with Copic Markers will fade over time, especially if you display them where they are being exposed to daily light and humidity.
Note: “Permanent” markers will also fade. When it comes to markers, the word “permanent” generally refers to alcohol or solvent-based markers that cannot be removed once they have dried. They are essentially waterproof, unlike water-based markers that can be re-activated with water after they have dried.
Although I hang a few of my marker artworks around the house, I mostly store my finished artworks in archival boxes like the one shown below, and even after several years, they have seen very little fading. If you’re creating artwork for display, you can varnish it with a product like Krylon's UV-Resistant Spray Varnish. As with any varnishing, I strongly advise you test this first (on a draft or scrap drawing) because it can alter the colors or in extreme cases even ruin an artwork.
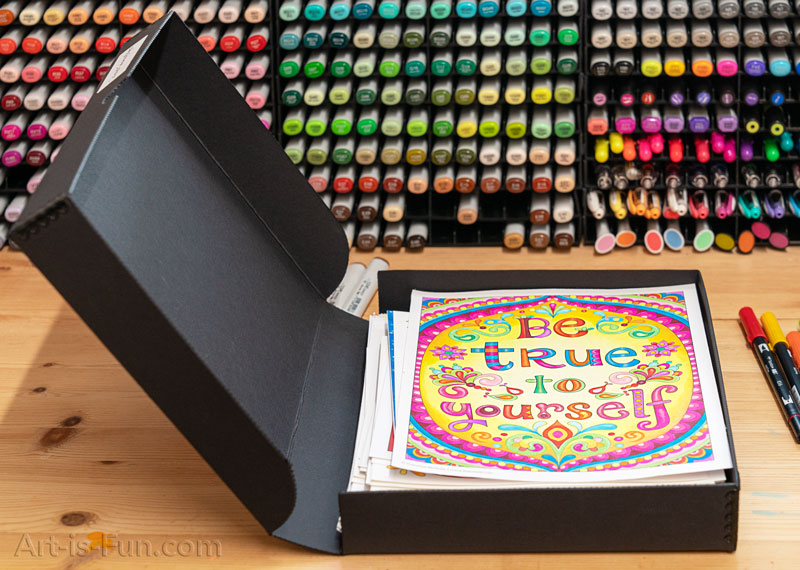
But for many artists, including myself, the creative expression you can achieve with Copic Markers far outweighs the longevity concerns. And in the digital age, longevity no longer matters as much because you can make high resolution scans of your artwork and then display it online or have it made into prints.
Using Copic Markers
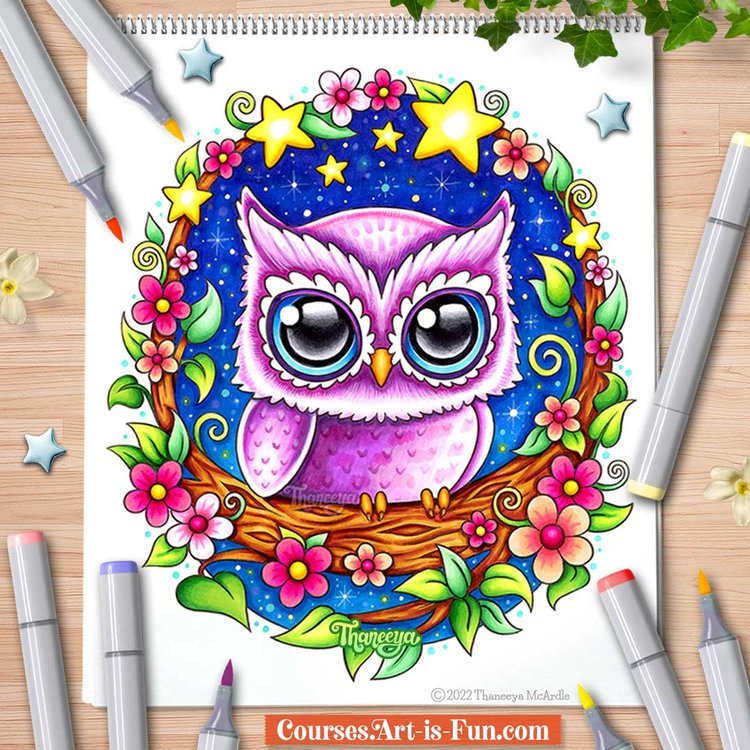
Learn how to color this owl step-by-step in my Ultimate Guide to Using Alcohol Markers!
I’ve created an entire 11+ hour video course where I demonstrate Copic blending techniques and various other topics related to alcohol markers, so check that out if you want in-depth instruction from a professional artist. In the meantime, here are few tips if you’re just get started:
Because Copics are alcohol-based, color is applied smoothly with little streaking, but you have to work fast because the ink dries quickly. And once it dries, any additional color will darken the existing color, not blend seamlessly into it. Dried Copics are also permanent, unlike water-based markers, which can be re-activated with water.
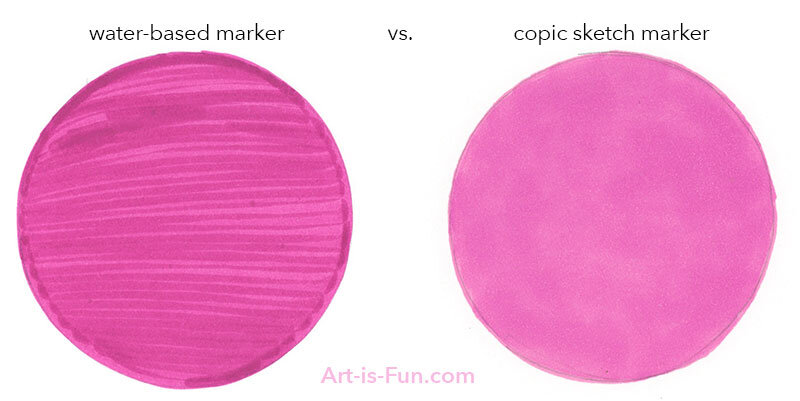
Here’s a comparison of color application between Copics and a water-based marker. These are 3-inch circles on cardstock. While alcohol markers don’t appear as streaky, they can have some variations in saturation, with some areas appearing slightly lighter or darker than others. I personally appreciate these subtle variations because it lends the artwork a more natural, organic feel that has more personality than a flat block of solid color.
Copics also blend extremely well, helped by their color range. Blending is achieved by layering a color on top of and next to an existing color while the first color is still wet, which I demonstrate in my Ultimate Guide to Using Alcohol Markers. Note that Copic markers don’t blend as well on heavy, absorbent paper, like most watercolor papers. For an artwork that requires lots of blending I’d recommend marker paper.
Copic sells a colorless blender (filled only with solvent) which you might naturally assume is used to blend colors, as the name suggests. However it's not really used for that purpose. The colorless blender can be used to add hightlights, textures or patterns by lifting off the existing ink from the paper. In the same way, it can also be handy for fixing mistakes, which is the most common reason I use it. The colorless blender can also help you blend from a color to white.
Copic Sketch Colorless Blender
Marker paper is ideal, but Copics can also be used on cardstock. My favorite is Neenah Exact Index 110lb Cardstock (Amazon affiliate link), which is what I use when I print out my printable coloring pages.
Copic Sketch Marker blending examples
It’s important to be aware that aside from most marker papers, alcohol-markers tend to bleed through most other kinds of paper, so it’s a good idea to put a spare sheet or two of paper underneath the paper you’re working on to absorb the excess ink. To learn more, check out Tips for Using Alcohol Markers in Coloring Books.
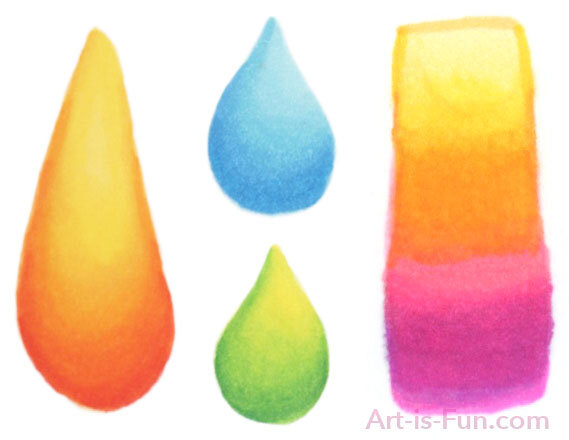
Copic’s inks also have transparency, so you can layer colors to create shades, tints and ombrés.
When it comes to comparing Copics with other markers, there are a whole range of factors that come into play. For instance, some artists strongly prefer water-based markers (especially if they have experience with watercolor paint) because they prefer the way they blend and enjoy using washes. Check out my Markers buying guide to learn more about different marker types and brands.
Learn How to Use Copic Markers
If you'd like step-by-step instruction on how to get the most out of your Copic markers, check out my Ultimate Guide to Using Alcohol Markers. The course starts right at the beginning with lessons on topics such as the best alcohol marker paper, various alcohol marker blending techniques, and blending theory, and gradually builds up your skills with more advanced blending and realism techniques. This comprehensive course is designed to take you step-by-step from a complete beginner level to an advanced level!
Price
At this point you’re probably pretty excited about buying Copic Markers, but then your jaw might drop when you see how much they cost – and I don’t blame you one bit! I won’t quote exact prices here because they fluctuate, but you can generally get Copic Sketch and Classic markers for $6-$8 each and Ciao markers for $4-$5.50 each. You can bring the cost down by purchasing a set, but Copics are still a significant investment for most people.
Learn how to color this in step-by-step!
One thing to keep in mind is that Copic Markers are still relatively cheap when compared to other media styles, like painting. With painting, the paints themselves can be pricey, and you need a range of brushes. You’ll also need accessories like a palette, paint mediums, and perhaps an easel. Additionally, supports for painting – like canvas – can also be costly. By contrast, to start creating art with markers, all you need is a handful of colors and some decent paper. That’s it! And as an extra benefit, they don’t create a mess and can be used anywhere!
Before I get to my recommendations I want to point out that Copics, and many other markers, can be purchased individually, so don’t feel pressured to dive in and buy a Copic Marker Set if you’re not yet sure whether they’re what you’re looking for. Buy a few colors and try them out. The great thing about markers is that different types and brands can be used together. I frequently combine Copics with colored pencils, gel pens, and paint pens! So you can start off with just a few Copic Markers and use them with the markers you already have, only buying more as needed.
My recommendations
I only recommend products that I've used and enjoyed. If you make a purchase through one of the links below, I'll receive a small commission (at no extra cost to you). This helps support this site, keeps it free of ads and allows me to create more free art information and lessons for everyone to enjoy.
For artists and serious hobbyists
If cost isn’t an issue, Copic Sketch Markers are the best choice. You get the best nib (the brush nib) and it’s nice to know that so many colors are at your disposal. You can bring the cost down by purchasing a Copic Marker set.
If you’re serious about art, but can’t justify the cost of the Sketch markers, go with the Ciao markers. They’re an amazing deal because you get all the features of the Sketch markers except for the huge color range. But even 180 colors is totally amazing and still way more than most other brands offer. And if you eventually buy all the Ciaos and want more colors, just start buying the Sketch markers!
For those on a budget
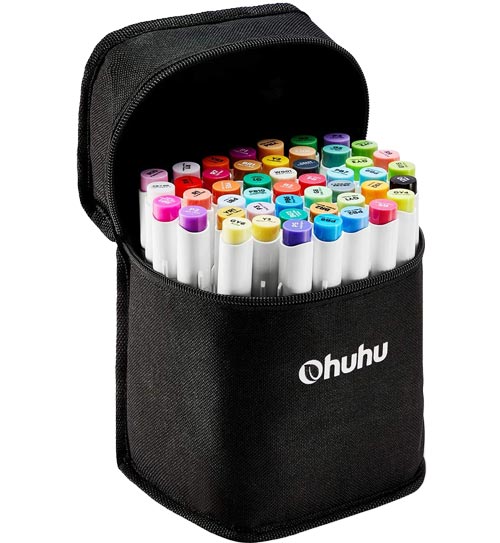
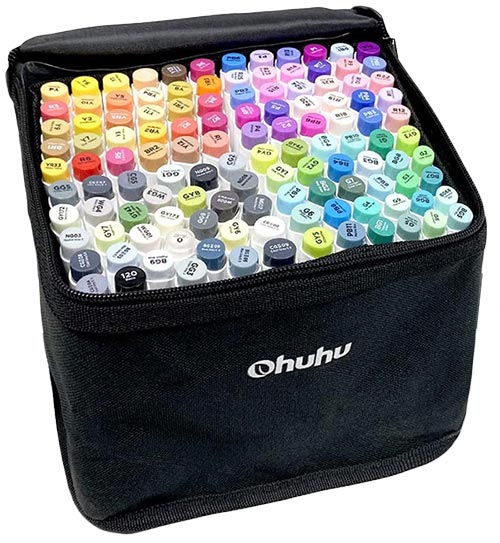
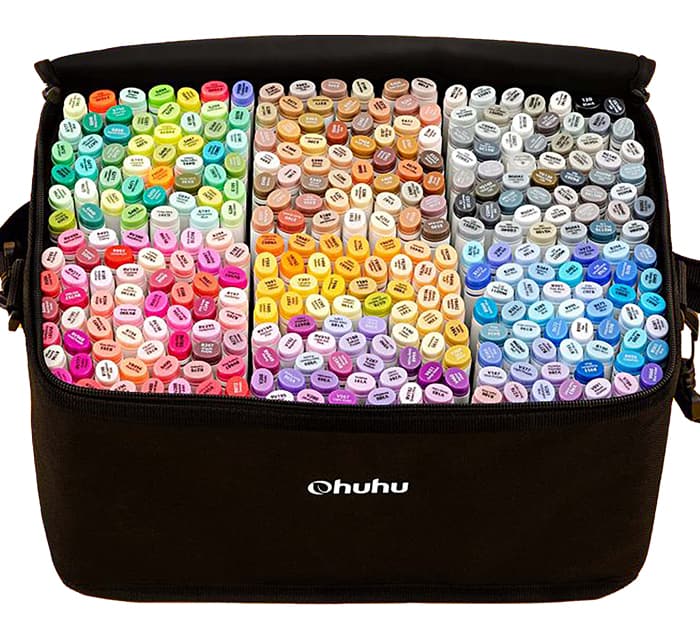
If you really want Copics, but you just can’t afford it, I’d recommend you try Ohuhu Honolulu Markers. They've done a wonderful job of copying all the best features of Copic markers, while keeping the price very low! They offer a huge range of 341 colors, they're refillable and the nibs are replaceable. I've used Ohuhus extensively, and they match up extremely well to Copics. If you're new to alcohol markers, I recommend you start off with Ohuhus, and when you're more experienced, you can decide if Copics are worth the cost.
Copic Colors
People often ask me what my favorite Copic colors are and what colors they should buy to start their collection. If your goal is to eventually collect all 358 of the Copic colors, I strongly recommend getting a set – whichever one you can afford – because you’ll get better value for your money than buying the colors individually. Sometimes people then ask me which specific set I’d recommend, but I when I started my Copic collection I purchased them individually, so I can’t recommend a specific set from experience. .
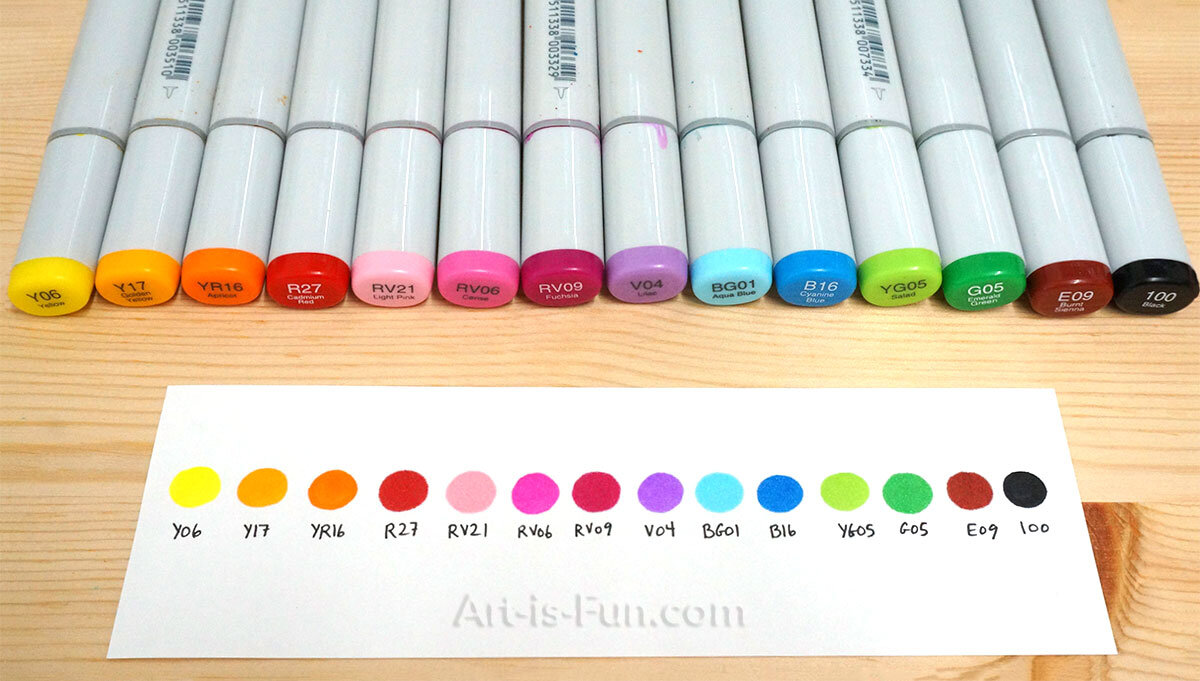
If you’re planning on buying some individual Copics and you like bright colors, here are my suggestions below. I recently took these 14 colors on vacation and found them wonderful for creating colorful, happy art!
In my Ultimate Guide to Using Alcohol Markers, I include a PDF of 30 Copic colors that I recommend for beginners who enjoy creating vibrant, whimsical art, along with 15 examples of blends that can be created using those colors.
Ultimate Guide to Using Alcohol Markers
If you’re going to invest in Copics, then you’ll want to learn how to make the most of them!
My Ultimate Guide to Using Alcohol Markers contains over 11 hours of instructional video, starting with the basics of blending and blending theory, building your skills and understanding with 65 bite-sized lessons and over 50 pages of downloadable resources. Then you’ll learn step-by-step how to color in the three artworks you see below!
Printable line art is included, so you can follow along at your own pace. You’ll get access to my personal library of 250+ Copic blends, my custom Copic color chart, and so much more!
Click below to watch the trailer and see everything that you’ll get in this course!
