How to Use Alcohol Markers
Learn how to use alcohol markers in this easy blending tutorial for beginners!
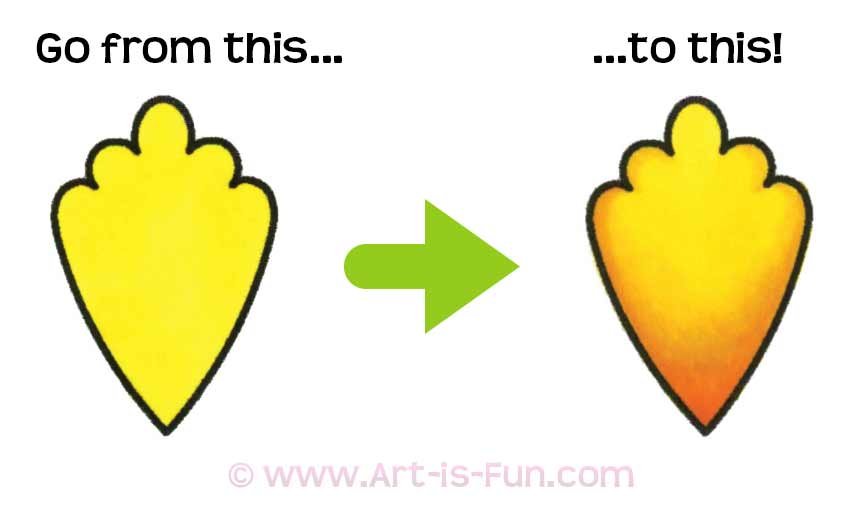
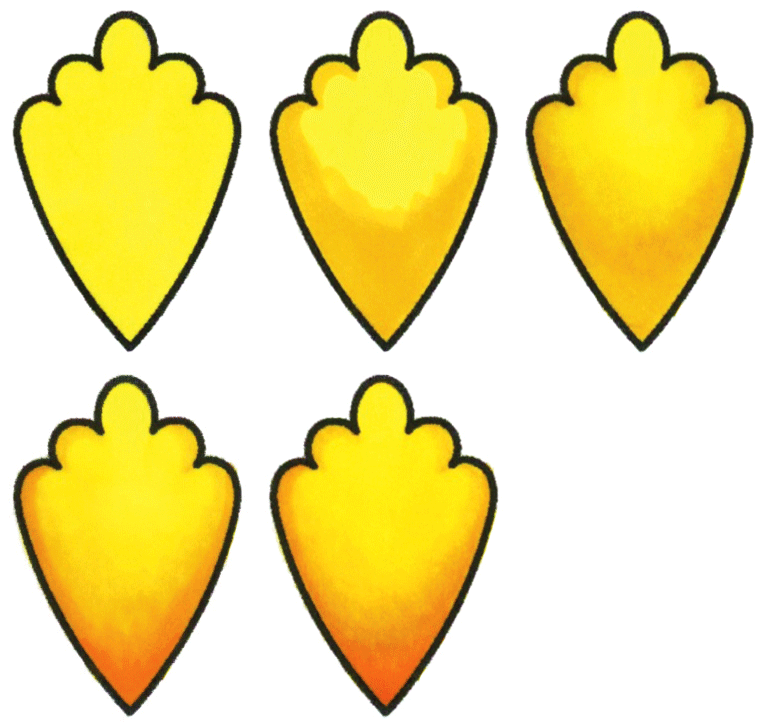
You’ll learn step-by-step how to turn a plain, flat color (below left) into a dimensional, blended shape (below right)!
This lesson demonstrates the process of blending from light to dark. This is just one way of blending alcohol-based markers—if you’d like to learn more alcohol marker blending techniques, check out my Ultimate Guide to Using Alcohol Markers!
One of the best benefits of using alcohol markers is that they can create smooth, painterly blends which can add more dynamism to your marker art. Let’s get started!
Blending with Alcohol Markers
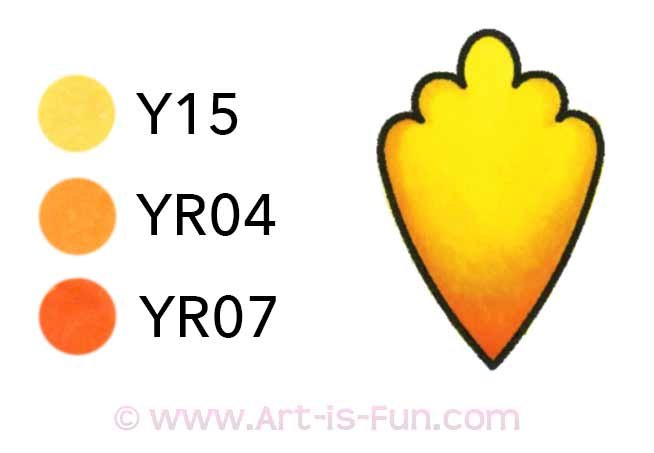
To create a blend, you only need 2 colors, but in this lesson we'll use 3:
a light color,
a dark color,
and a color in between.
For this tutorial, I’ll be using these 3 Copic colors: Y06, Y15, and Y17.
Easy Alcohol Marker Blending Tutorial
Step 1
Color in the shape with your lightest color, Y15.
Step 2
While the first layer is still damp, use your middle color (YR04) to add shading on top of the light color, focusing on the sides and the bottom of the shape.
Step 3
Use your lightest color (Y15) to go over the edges where the two colors meet. Notice how it softens the transition.
Step 4
Use your darkest color (YR07) to add the deepest shadows, focusing mostly on the bottom tip, and a little along the sides.
Step 5
Use your medium color (YR04) to soften the edges between the dark and medium colors.
If needed, use your light color (Y15) on top of everything, to smooth it out even more.
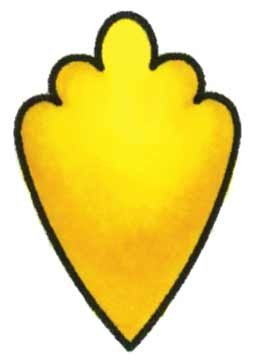
Voila! You’re all done! That’s how easy it is to blend alcohol markers! 😍
Quick Review
Here’s an animated GIF that shows you all of the steps outlined above. (If it’s not moving when you first glance at it, just give it a second.) 😊
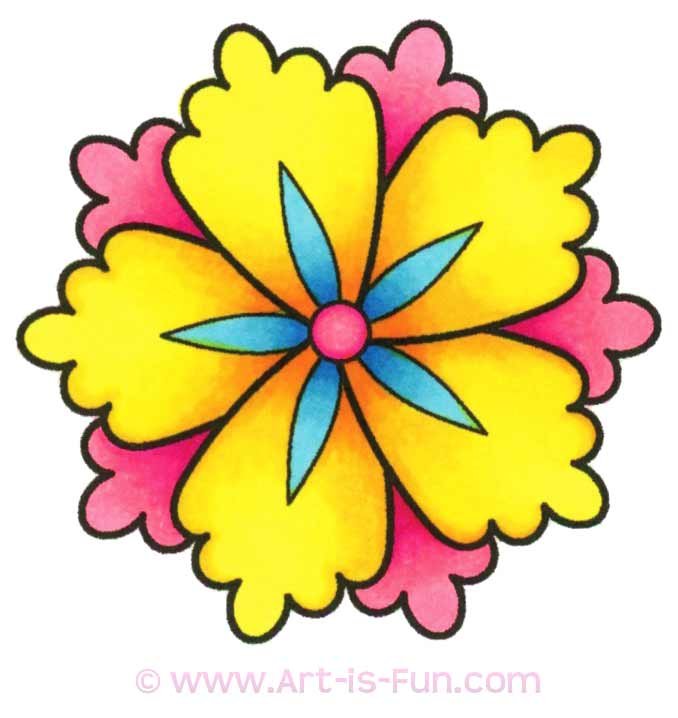
Flower example
Now that you know how to blend alcohol markers, go ahead and experiment with blending together different colors.
In the flower example below, all of the colors were blended. Note the transitions from yellow to orange, from light pink to magenta, and from light blue to medium blue.
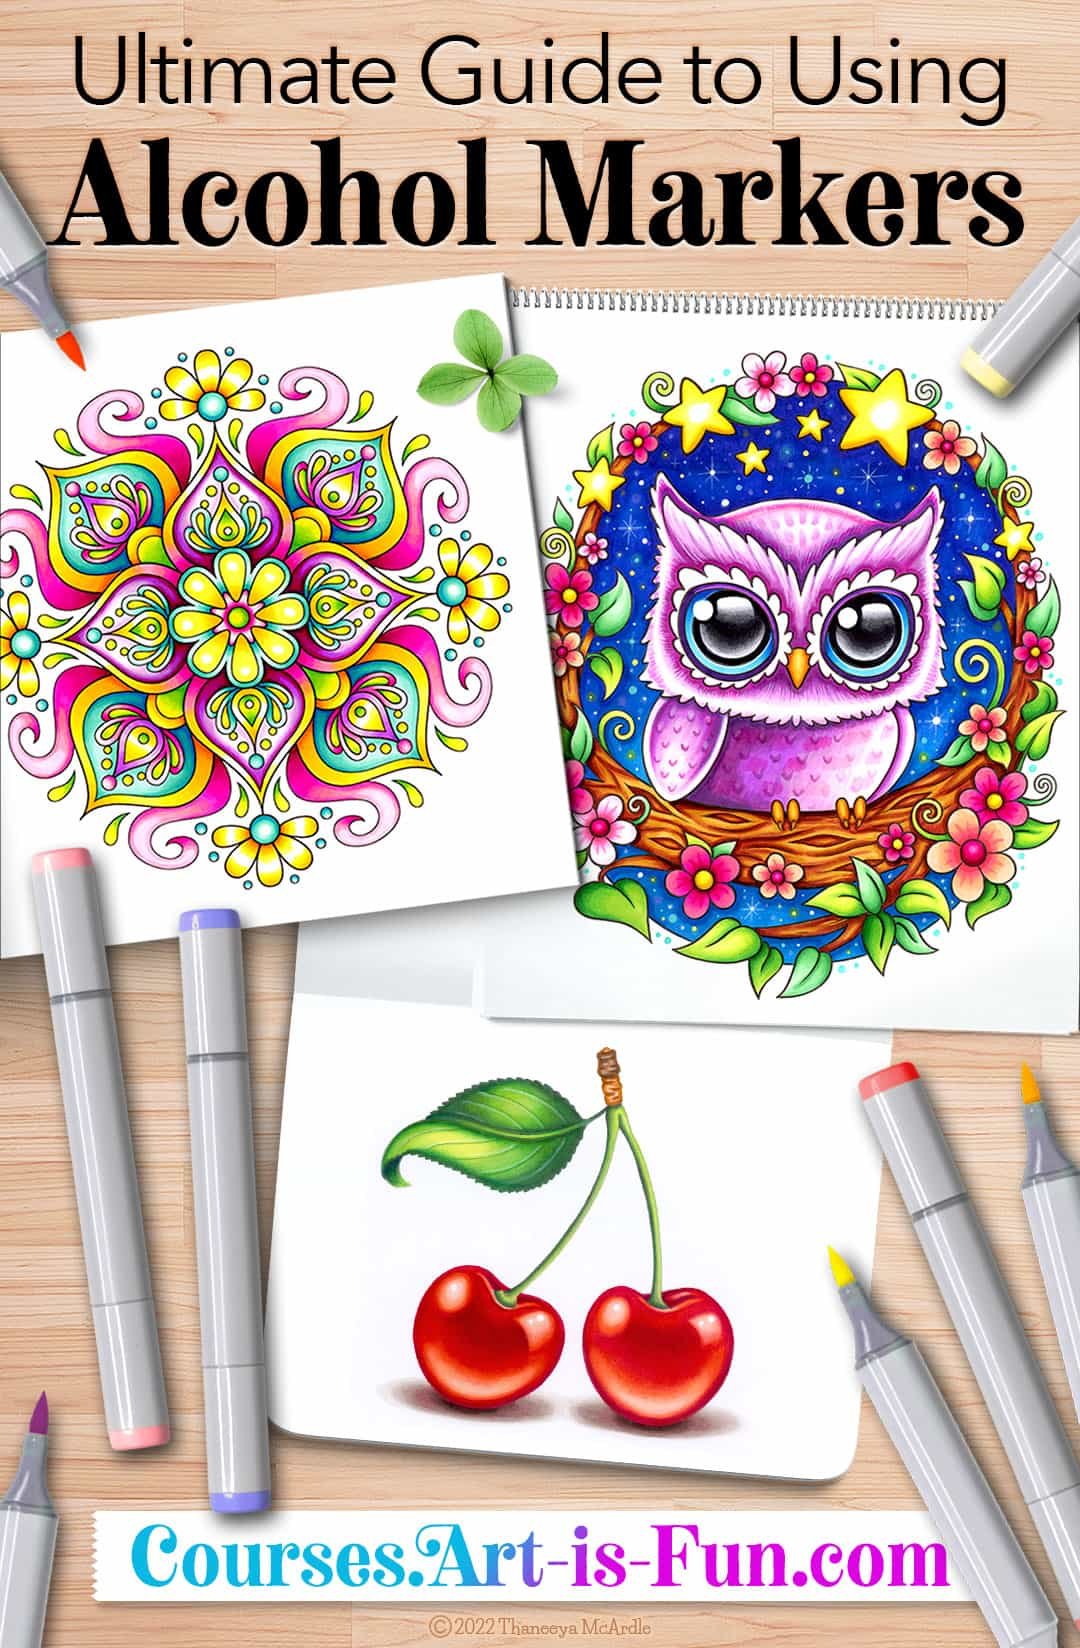
Ultimate Guide to Using Alcohol Markers
If you enjoyed this easy alcohol marker blending technique for beginners and you want to keep learning even more alcohol marker techniques, check out my Ultimate Guide to Using Alcohol Markers!
This comprehensive online video course is designed to give you a solid foundation, with blending lessons that take you from a complete beginner level to an advanced level! By the end of this course, you’ll be able to create the 3 artworks you see below!
Step-by-step demonstrations are included for each of the artworks below, along with color names, color swatches and printable line art, so you can follow along with me, at your own pace!
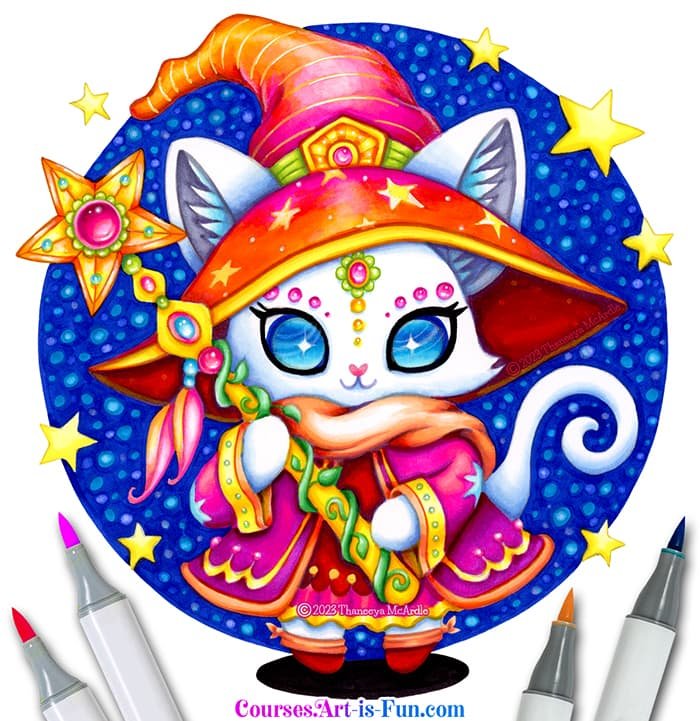
Wizard Cat Coloring Course
If you love adorable kawaii art, join me as I show you step-by-step how to color in the whimsical illustration below! In my Wizard Cat Alcohol Markers Course, you get instant access to 3+ hours of narrated video tutorials, along with printable line art and a PDF of color names and swatches, so you can follow along with me! 😍
Keep learning…
Check out more alcohol marker tutorials!
Enroll in my free 90-minute alcohol markers course!
If you’re interested in Copic Markers but can’t afford them, check out my recommendations for best Copic alternatives.
Read about the best alcohol marker brands for all budgets and skill levels.
Brand-new to alcohol markers? Get an overview of alcohol-based markers!
See a gallery of alcohol marker art to get ideas and inspiration.
Find out why Copic Markers are considered the best of the best when it comes to alcohol marker brands.
Organize your colors with my Custom Color Charts for Copic and Ohuhu!
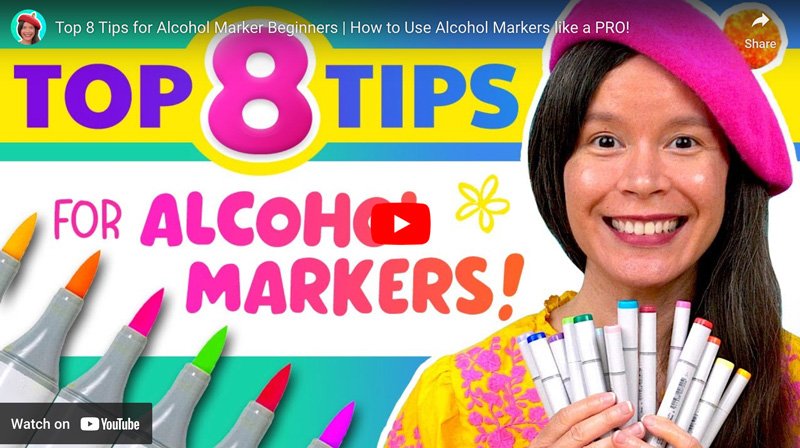
Check out my video below for my TOP tips for alcohol marker beginners!
Advanced alcohol marker blending techniques
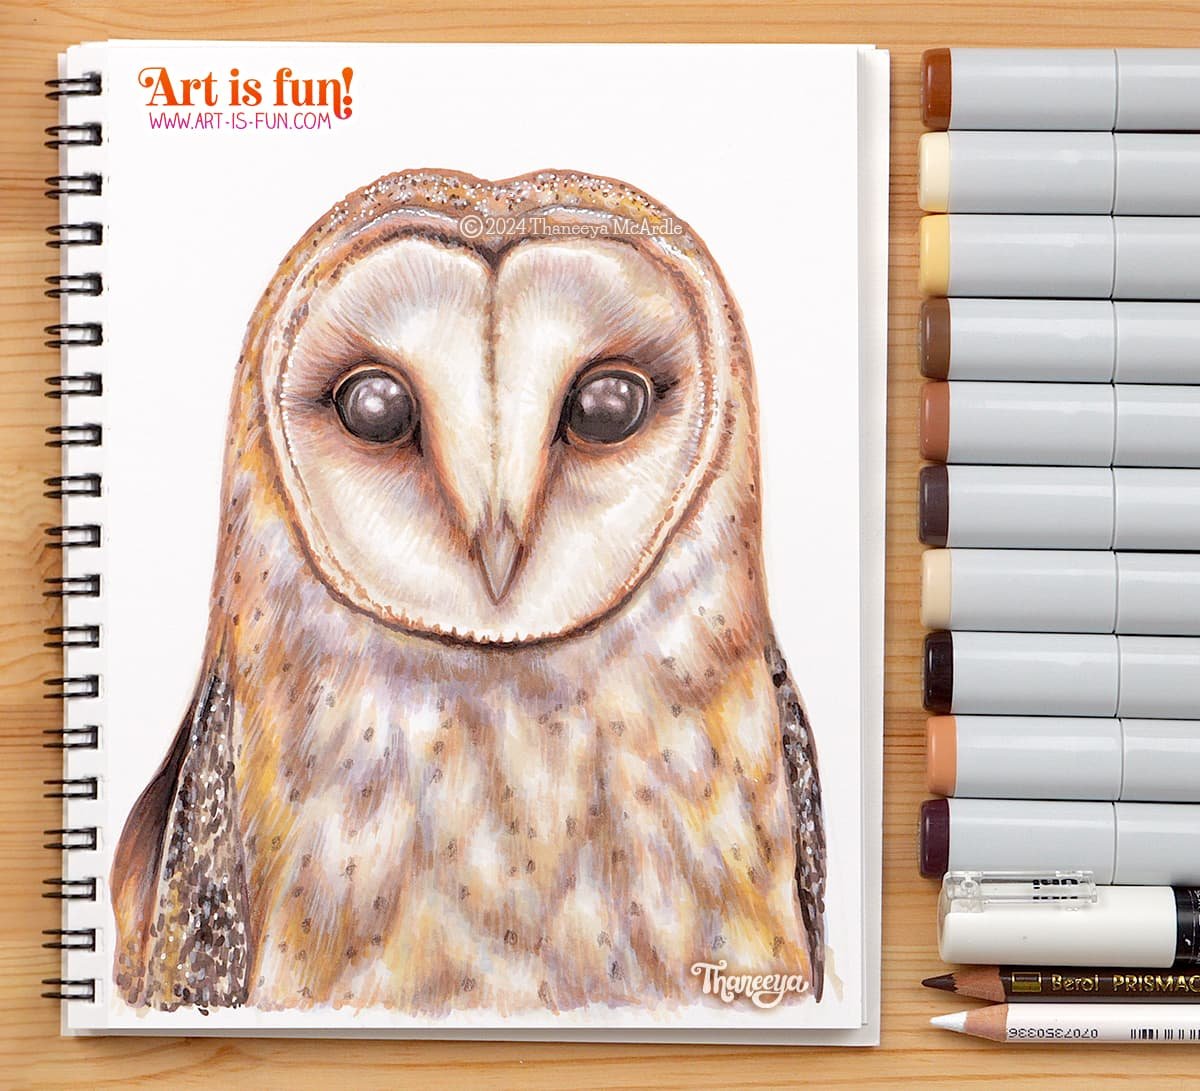
Follow along as I explain the steps to creating this realistic alcohol marker drawing! A video version is also available so you can watch my process and I narrate my alcohol marker blending techniques.
